DIY Jewelry Projects: A Step-by-Step Guide to Creating Beautiful Pieces at Home
Jewelry has always been a popular accessory, serving as a means of personal expression and style. However, purchasing jewelry can be expensive and often lacks the personal touch that handmade pieces provide. DIY jewelry projects offer a fun, creative, and cost-effective alternative. Whether you’re a beginner or an experienced crafter, this guide will provide step-by-step tutorials for creating simple yet stunning jewelry pieces at home. Let’s dive into the world of DIY jewelry and unleash your creativity!
Introduction to DIY Jewelry Making
Why Make Your Own Jewelry?
Creating your own jewelry allows you to:
- Personalize Your Accessories: Tailor pieces to your taste, style, and needs.
- Save Money: Handmade jewelry can be more cost-effective than buying ready-made pieces.
- Learn a New Skill: Jewelry making is a rewarding and enjoyable hobby.
Give Unique Gifts: Handmade jewelry makes thoughtful and unique gifts for loved ones.
The Joy of Handmade Jewelry
Handmade jewelry carries a unique charm and personal significance that mass-produced pieces often lack. Each handmade piece tells a story, reflecting the creator’s personality, creativity, and effort. Additionally, making your own jewelry provides an opportunity to experiment with different materials, styles, and techniques, allowing you to create truly one-of-a-kind pieces.
Tools
Getting Started: Essential Tools and Materials
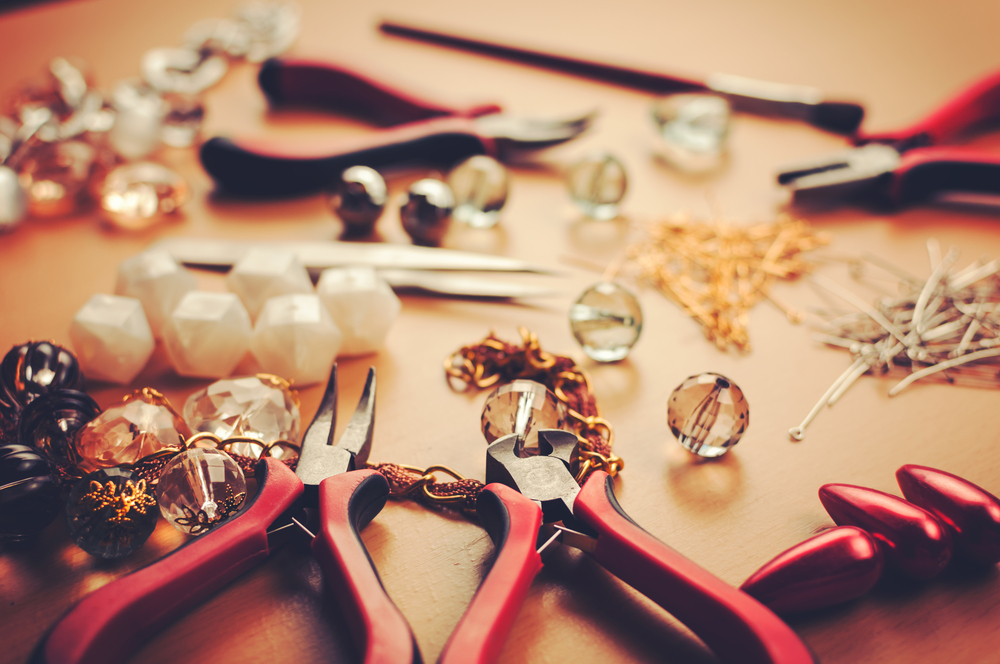
Round-Nose Pliers: For making loops and curves.
Chain-Nose Pliers: For gripping and bending wires.
Wire Cutters: To cut wire and other materials.
Crimping Pliers: For securing crimp beads and tubes.
Bead Reamer: To smooth and enlarge bead holes.
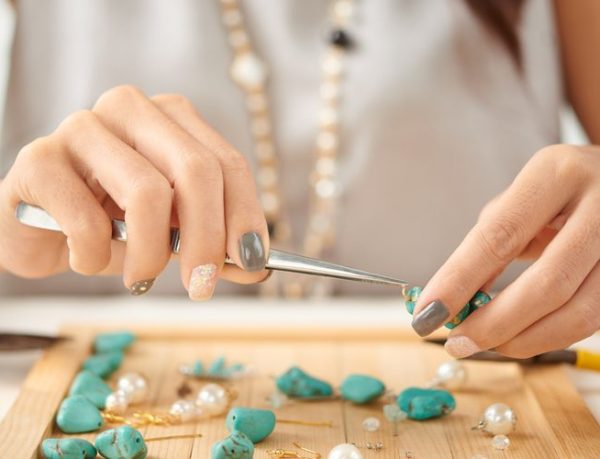
Tweezers: For picking up small beads and findings.
Beads: Available in various shapes, sizes, and materials (glass, crystal, wood, metal, etc.).
Wire: Choose the appropriate gauge for your project (e.g., 20-gauge for earrings, 24-gauge for delicate designs).
Stringing Material: Options include elastic cord, nylon thread, leather cord, and beading wire.
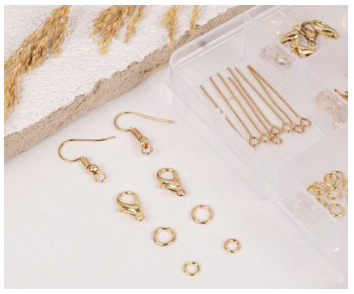
Findings: Includes clasps, jump rings, earring hooks, and crimp beads.
Charms and Pendants: Add focal points and unique touches to your designs.
Materials
Step-by-Step Tutorials
Project 1: Beaded Bracelet
Materials:
Beads (8mm glass beads)
Elastic cord (0.8mm)
Crimp beads
Jump ring
Charm (optional)
Instructions:
Measure and Cut the Cord:
Measure your wrist and cut the elastic cord to the appropriate length, adding an extra inch for tying knots.
String the Beads:
String the beads onto the elastic cord in your desired pattern. Add a charm or pendant if desired.
Secure the Ends:
Once all the beads are strung, thread a crimp bead onto the cord. Then, tie a secure knot.
Use crimping pliers to flatten the crimp bead, securing the knot in place.
Finish the Bracelet:
Trim any excess cord and tuck the ends inside the nearest beads. Your beaded bracelet is ready to wear!
Project 2: Wire-Wrapped pendant Necklace
Materials:
20-gauge wire (silver or gold)
Pendant (gemstone or glass)
Chain (18 inches)
Jump rings
Clasp
Instructions:
Cut the Wire:
Cut a piece of wire about 6 inches long.
Wrap the Pendant:
Place the pendant in the center of the wire. Wrap one end of the wire around the top of the pendant to secure it.
Twist the wire ends together a few times to secure the pendant.
Create a Bail:
Form a loop (bail) with the twisted wire using round-nose pliers. This loop will attach the pendant to the chain.
Attach to the Chain:
Use jump rings to attach the pendant to the center of the chain.
Attach a clasp to one end of the chain using a jump ring.
Finish the Necklace:
Your wire-wrapped pendant necklace is ready to wear!
Project 3: Beaded Drop Earrings
Materials:
Beads (6mm crystals or pearls)
Headpins
Earring hooks
Jump rings
Instructions:
String the Beads:
Thread a bead onto a headpin.
Create a Loop:
Use round-nose pliers to create a loop at the top of the headpin, securing the bead in place.
Attach the Earring Hook:
Open a jump ring and attach it to the loop on the headpin.
Attach the jump ring to the earring hook and close it securely.
Repeat:
Repeat the steps to create the second earring.
Finish the Earrings:
Your drop earrings are ready to wear!
Tips for Successful Jewelry Making
Practice Patience
Jewelry making requires patience and precision. Take your time with each step to ensure a high-quality result. Rushing through the process can lead to mistakes, and in some cases, you might need to start over.
Experiment with Designs
Don’t be afraid to try new designs and techniques. Experimenting will help you develop your style and skills. You can combine different types of beads, materials, and techniques to create unique pieces that stand out. Consider mixing modern styles with traditional elements to add an interesting twist to your jewelry.
Stay Organized
Keep your tools and materials organized. Use storage containers for beads and findings to prevent loss and make your workspace more efficient. A well-organized workspace not only makes the process smoother but also helps you keep track of your inventory, ensuring you always have what you need for your next project.
Learn from Mistakes
Mistakes are part of the learning process. Use them as opportunities to improve your technique and creativity. When something doesn’t turn out as expected, analyze what went wrong and how you can avoid similar issues in the future. This mindset will help you grow as a crafter.
Seek Inspiration
Look for inspiration in nature, art, fashion, and other jewelry designs. Pinterest, Instagram, and jewelry-making blogs are great sources of ideas. You can also join jewelry-making communities and forums to exchange ideas and gain insights from fellow enthusiasts. Attending craft fairs and visiting museums can also provide a wealth of inspiration for your projects.
Caring for Your Handmade Jewelry
Cleaning and Maintenance
To keep your handmade jewelry looking its best, follow these care tips:
- Avoid Moisture: Keep your jewelry dry to prevent tarnishing and damage. Remove jewelry before swimming, showering, or exercising.
- Store Properly: Store jewelry in a cool, dry place. Use anti-tarnish pouches or cloths for metal pieces.
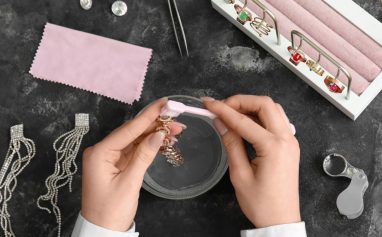
- Clean Gently: Clean jewelry with a soft cloth. For metal pieces, use a jewelry polishing cloth. Avoid harsh chemicals that can damage the materials.
- Handle with Care: Handle your jewelry gently, especially delicate pieces with intricate designs or fragile materials.
Repairing Broken Pieces
If a piece of your handmade jewelry breaks, don’t worry. Most repairs are simple and can be done at home. Here are a few common repair tips:
- Re-stringing: If a necklace or bracelet breaks, re-string the beads onto a new piece of wire or cord.
- Replacing Clasps: Use pliers to remove a broken clasp and attach a new one with jump rings.
- Fixing Bent Wire: Gently straighten the bent wire with your fingers or pliers.
DIY jewelry making is a wonderful way to express your creativity and create beautiful, personalized accessories. With the right tools, materials, and a bit of patience, you can craft stunning pieces that reflect your style and personality. Whether you’re making jewelry for yourself, as gifts, or to sell, the process is both rewarding and enjoyable. Start with the simple projects outlined in this guide, and soon you’ll be designing and creating your own unique jewelry pieces. Happy crafting!


